


What Is Private Mortgage Insurance (PMI) and How Does It Work?
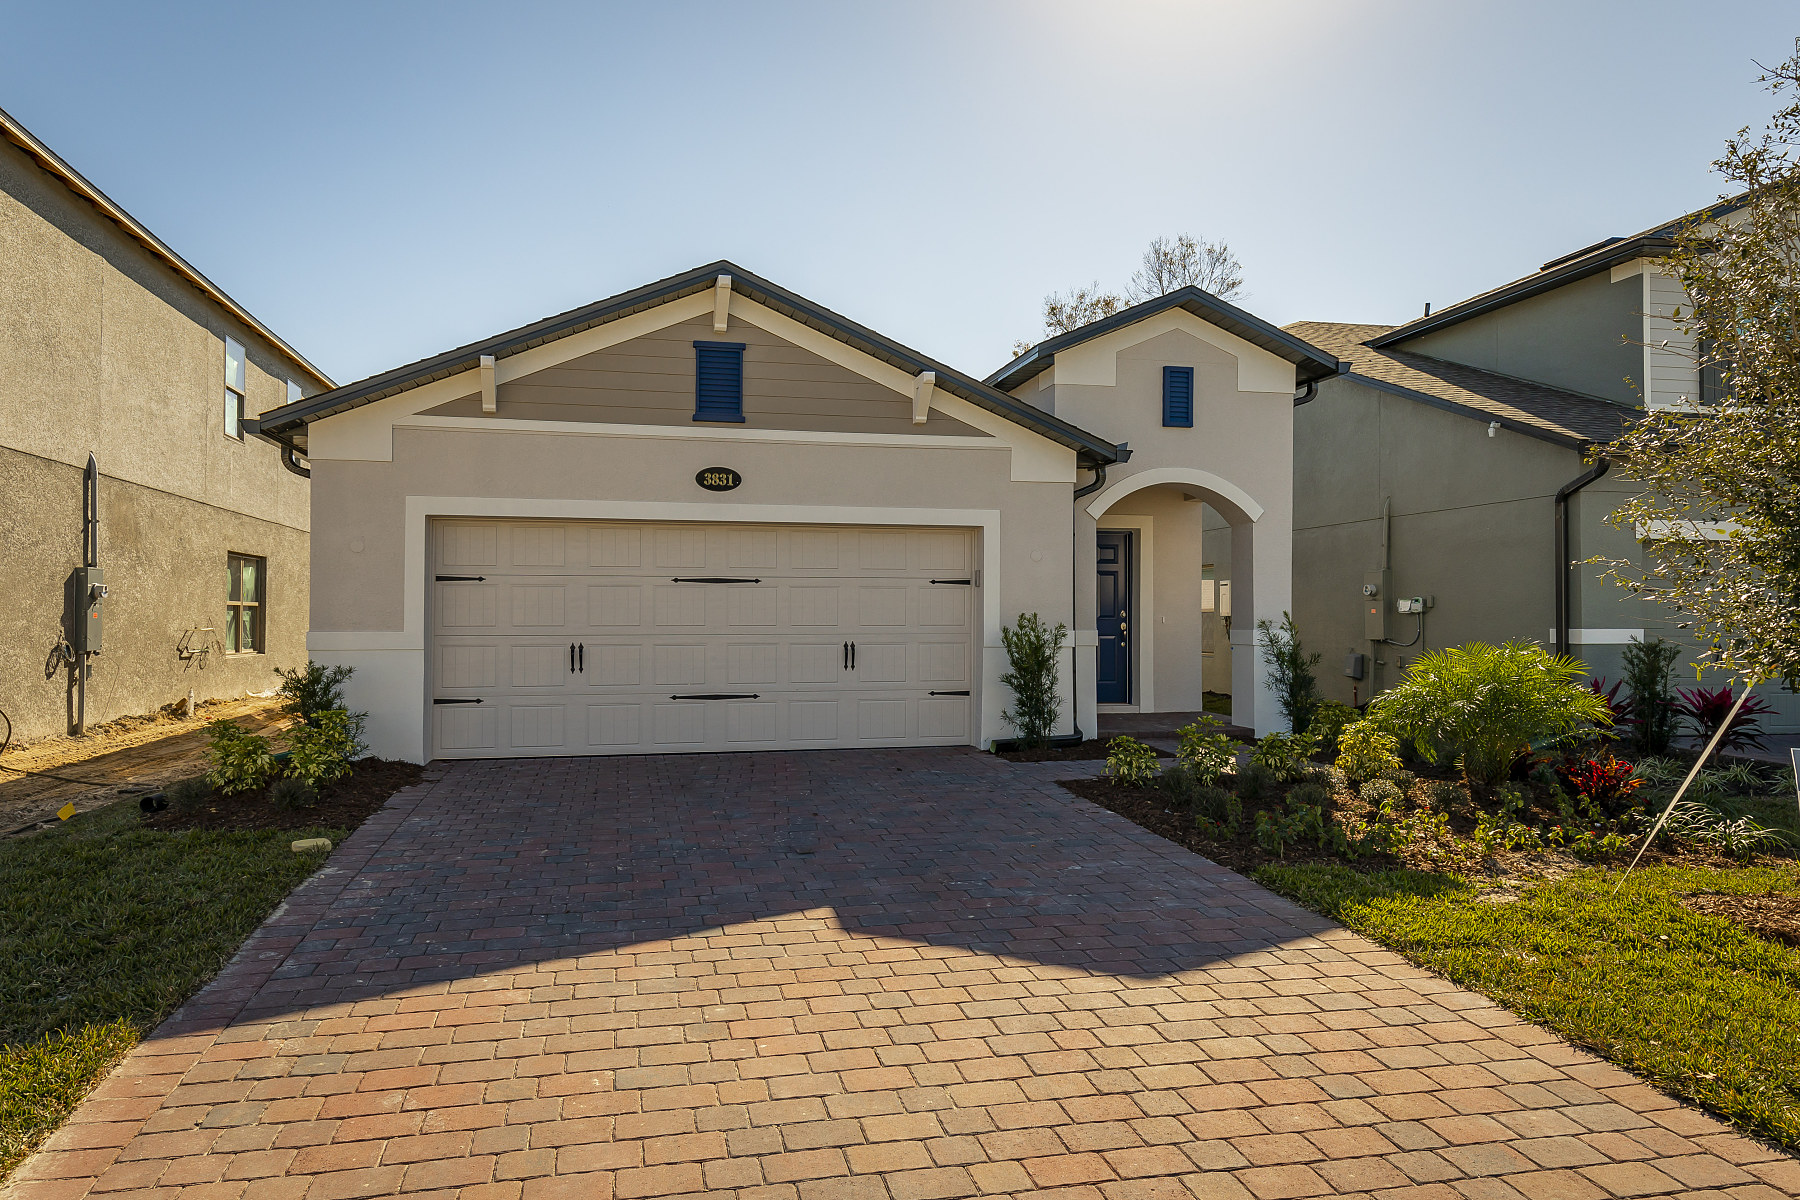
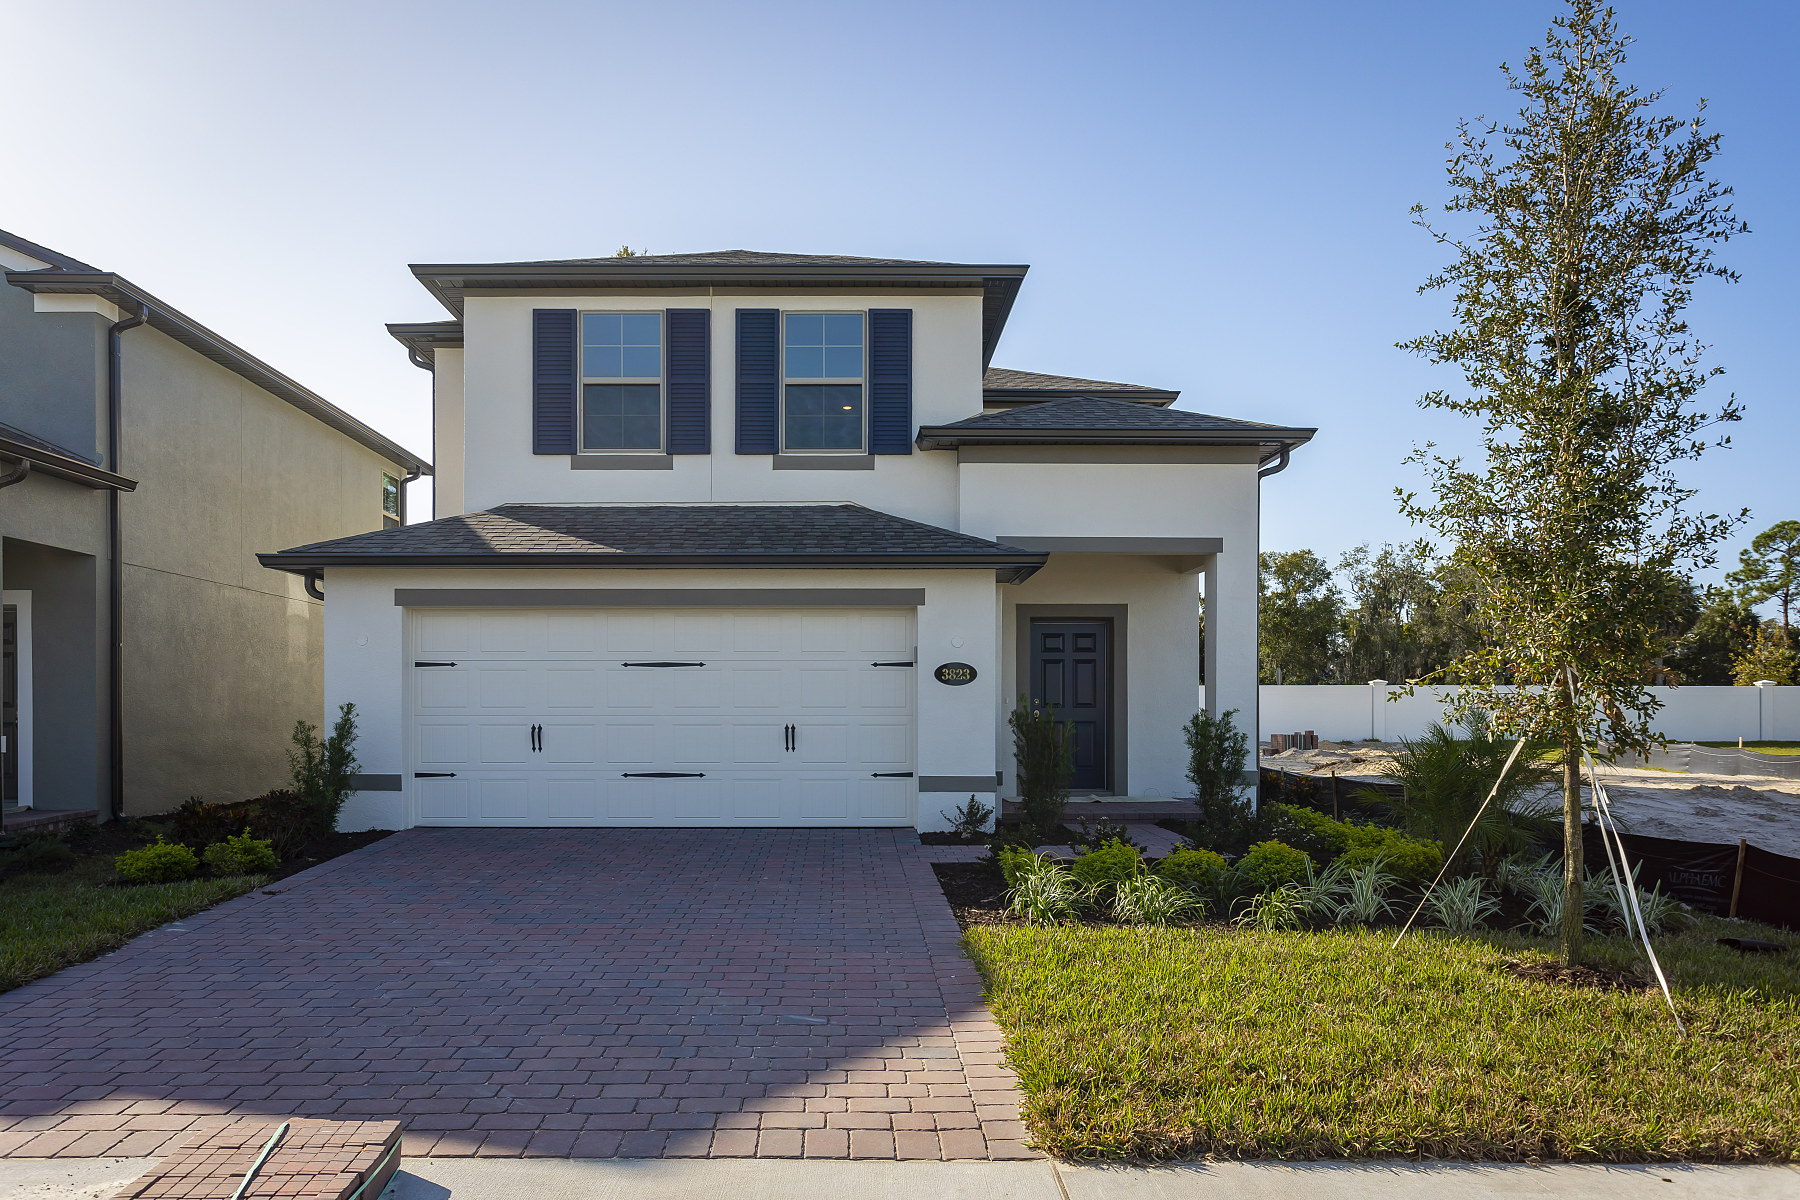
What’s slip and skid resistant, harder than concrete, low maintenance, and can last more than 50 years? Pavers!
If you’re thinking about tackling a DIY project with pavers, know that it’s a lot of work, but can be very rewarding and you can definitely save some money doing it yourself.
Chris Prado, a New Home Consultant with M/I Homes in Orlando, tells us about some do’s and don’ts of brick paver walkways and driveways.
Have a compacting machine handy and use it every few inches depth before adding more until you get to your correct depth.
This will help contain the pavers and help keep them from shifting.
DO start laying the pavers on the longest and straightest side of project, and then come out at a 90° angle.
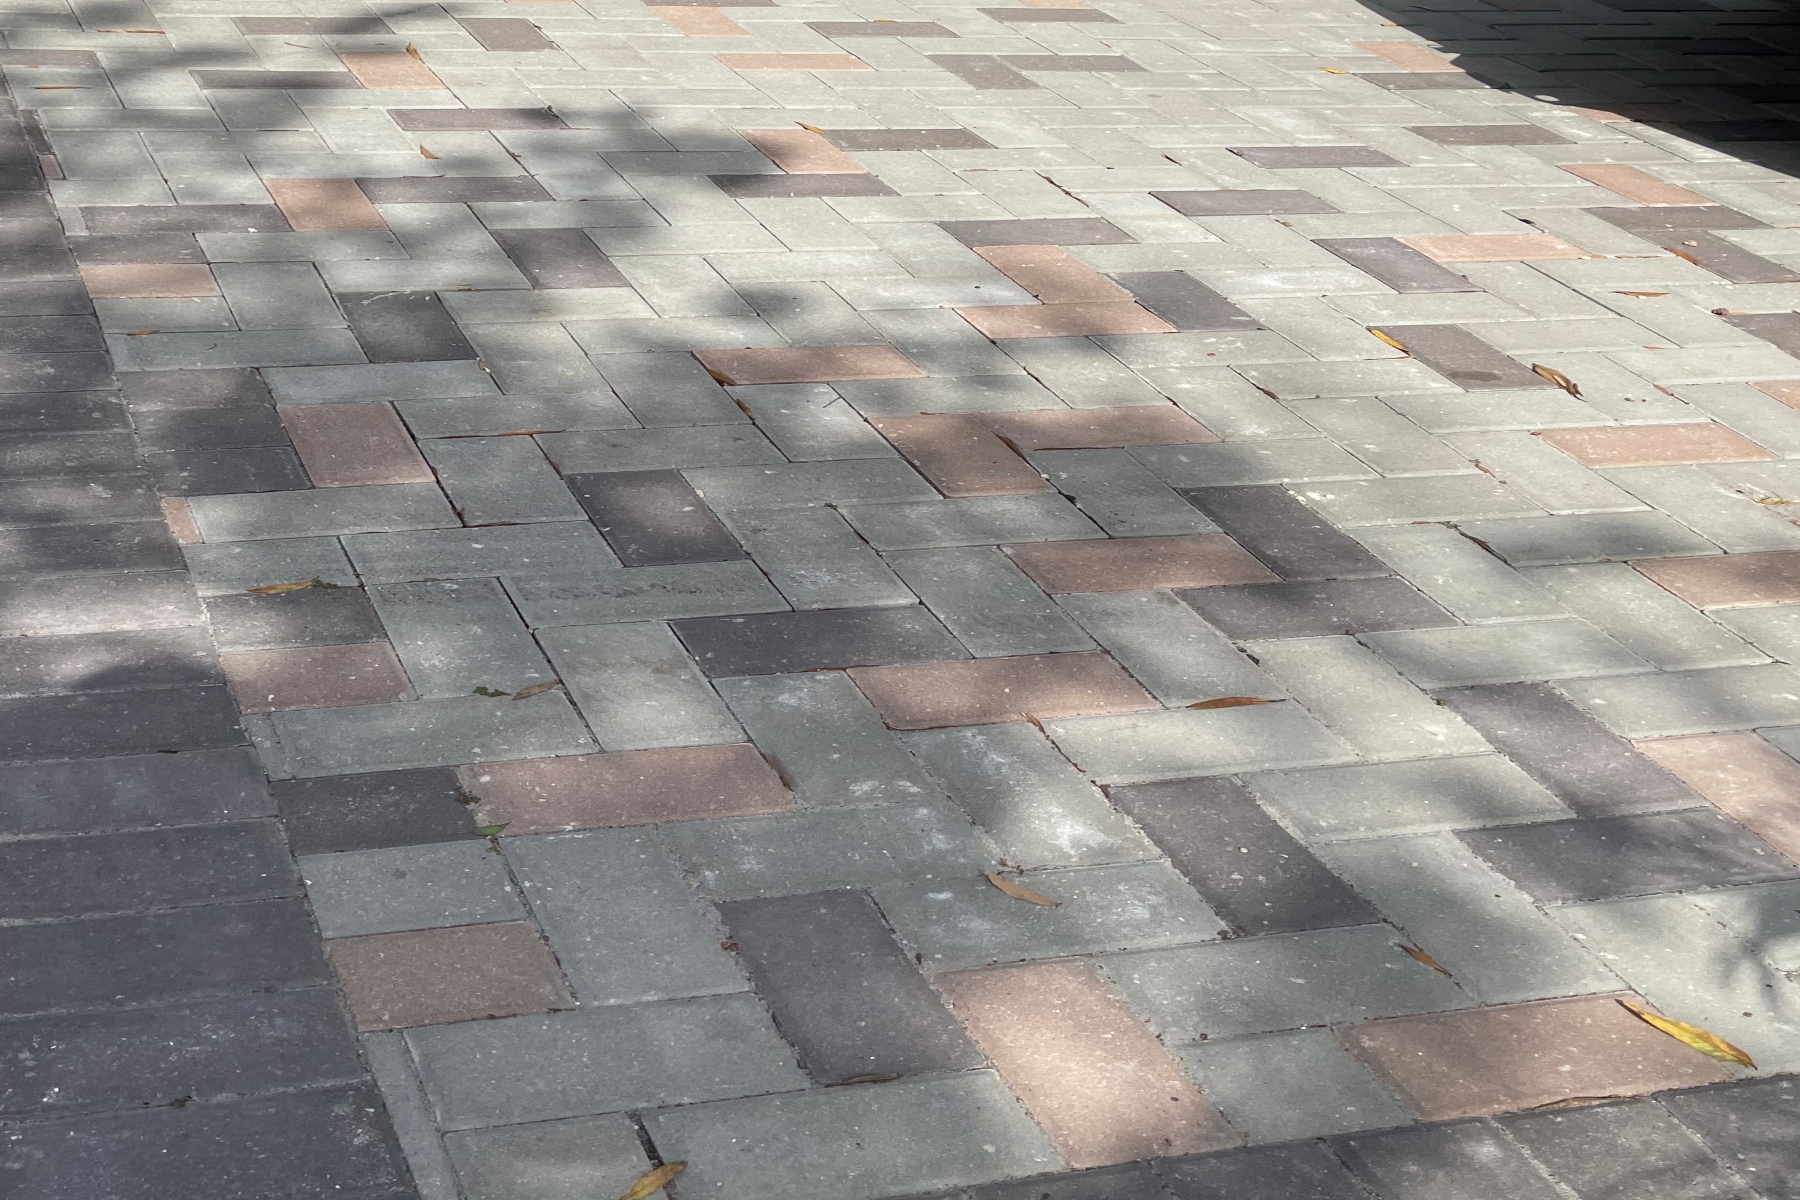
DON’T forget to pull from various pallets as you lay—as the color can vary a bit in each.
DO lay the pavers straight down. DON’T slide them through your sand base. DO keep them close together. DO keep them flat.
DO use a masonry saw to cut pavers to fit your space along the sides.
DON’T forget to compact them again! Go over them about 3 times in different directions and patterns.
DO sweep sand into all the cracks and crevasses until they are completely filled. Sweep in many different directions.
Maintenance of your pavers should be minimal:
As you can see, if you’re looking to spruce up your outdoor living space and are willing to put some hard work, you’ll find that a properly installed brick paver project creates a low maintenance, durable, and long lasting addition that is sure increase the curb appeal and resale value of your home, and that you’ll enjoy for years to come. Hungry for more? Contact us if you still have questions!
What Is Private Mortgage Insurance (PMI) and How Does It Work?
10 Steps to Buying Your First Home
By browsing, you accept our terms of use and privacy policy.


