


What Is Private Mortgage Insurance (PMI) and How Does It Work?
Basements are more than just an area for storing holiday decorations, suitcases, and sleeping bags. When you look beyond the concrete floors and walls of an unfinished basement, this space has tons of potential, whether it be a game room, home gym, movie room, or man cave!
Finishing your basement could also add considerable value to your home. Here are the steps needed to finish a basement properly and take advantage of this additional living space.
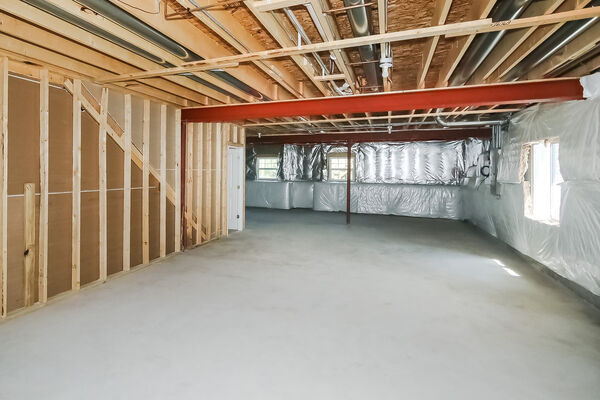
Before beginning your basement transformation, you’ll need to clear out all the junk, boxes, and plastic bins you’re currently storing here (in addition to the spider webs).
This task may be daunting, but the end reward is worth it since you’ll both have a space ready to finish and maybe minimize on your stuff, too!
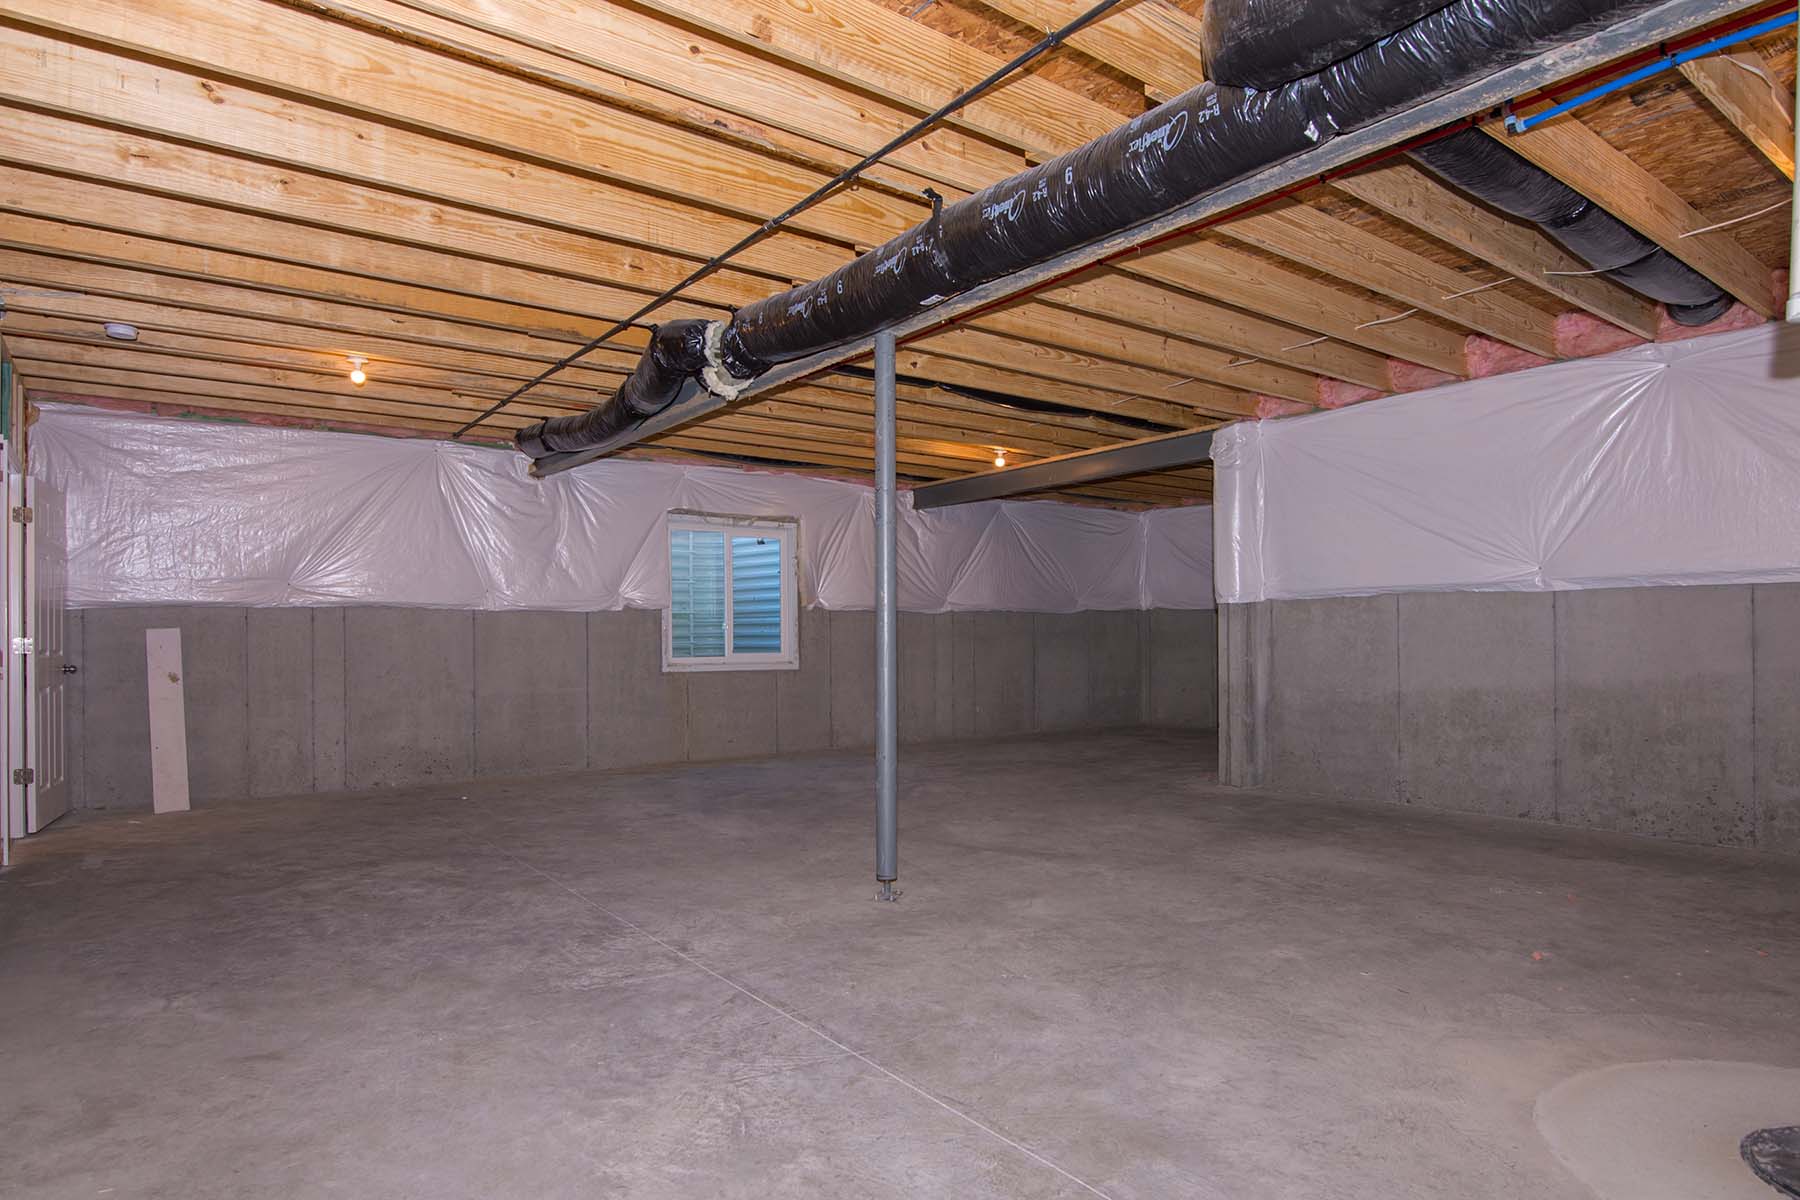
It’s always a good idea to perform a moisture test before renovating to ensure your finished basement won’t be ruined by any leaks or issues you weren’t previously aware of.
If you do have a leak, make sure to perform another test after fixing it so you know the issue is completely remedied. You can also consider adding a coat of waterproofing membrane to prevent future issues.
This is important! Before you start your DIY project of finishing your basement, you will need to apply for the appropriate building permits and make sure your plans are up to code:
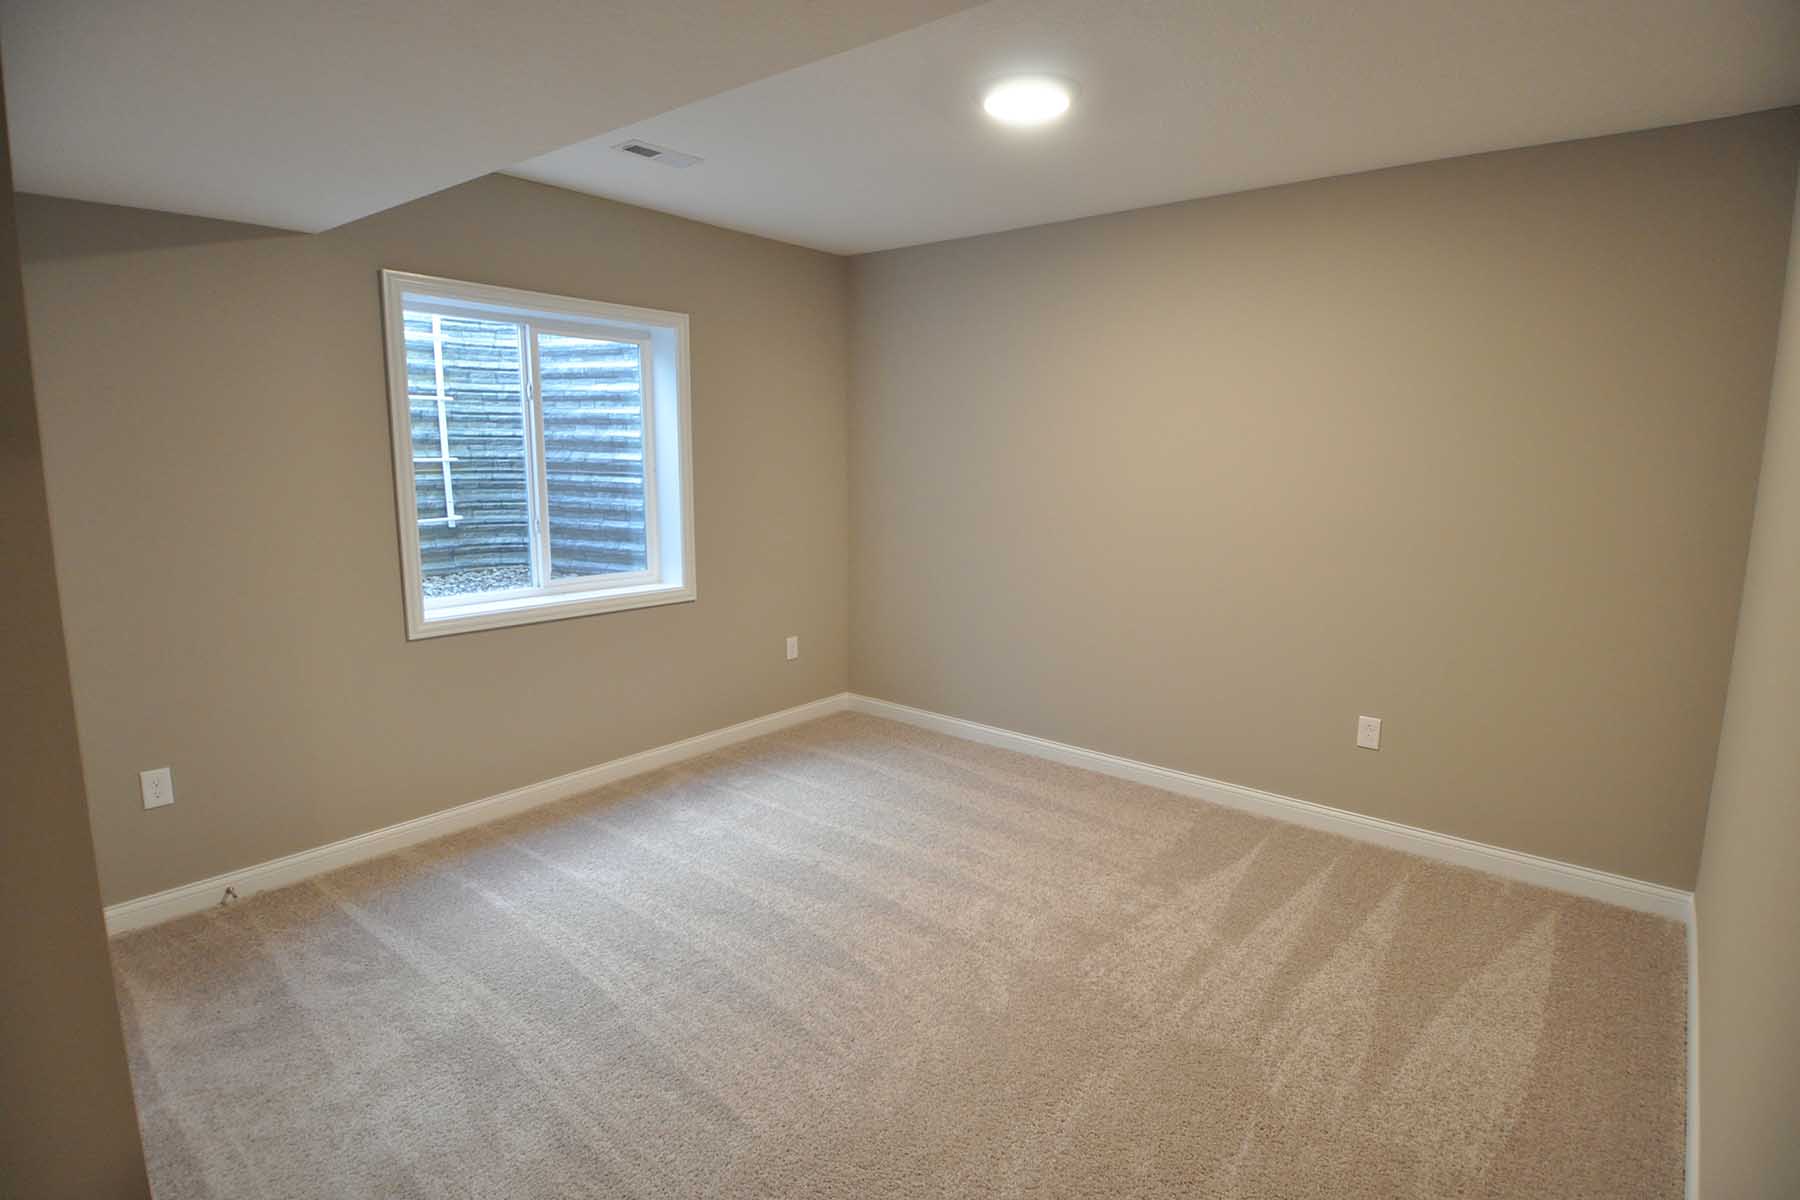
Say goodbye to your concrete walls! Your dream of a finished basement starts to come to life when you finish the walls.
To do this, you’ll need to install insulation, frame your walls, and hang your drywall. We recommend R-19 insulation—your home will be more comfortable, and your energy bills will be lower.
Don’t forget to take windows and outlets into account when hanging/cutting drywall. Once the drywall is secured and the seams are sealed with caulk, your walls are ready for paint!
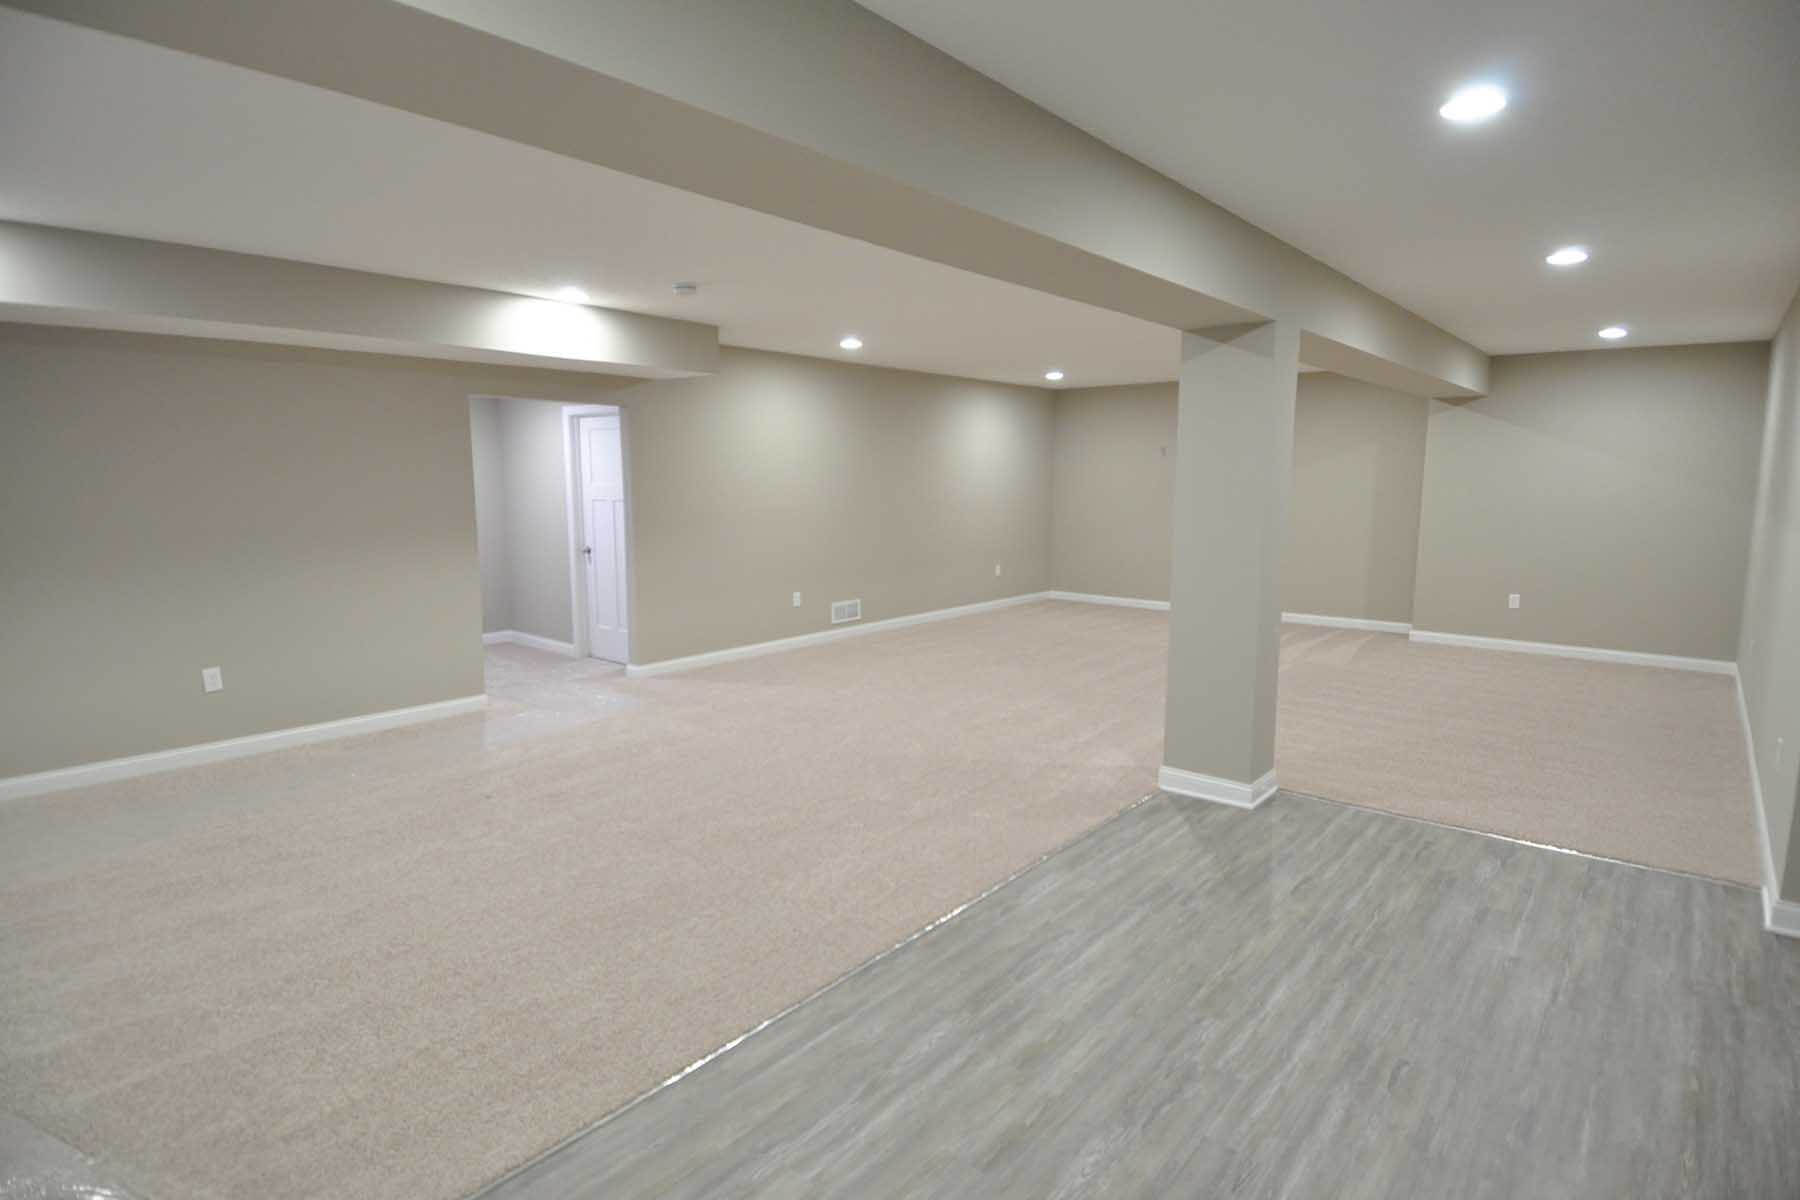
Concrete floors are a thing of the past. Say hello to carpet, vinyl, tile, or whatever type of flooring fits your vision. It’s also a good idea to seal your basement floor to reduce the risk of moisture.
Keep in mind the types of activities that will be taking place in your newly finished basement space and plan flooring accordingly.
Your basement is almost complete. Once you install a finished ceiling, covering pipes, and utilities, your finished basement will look completely transformed and ready for guests.
You can choose between a drop-ceiling—allowing you to still access overhead utilities—or a drywall ceiling, which conserves more space.
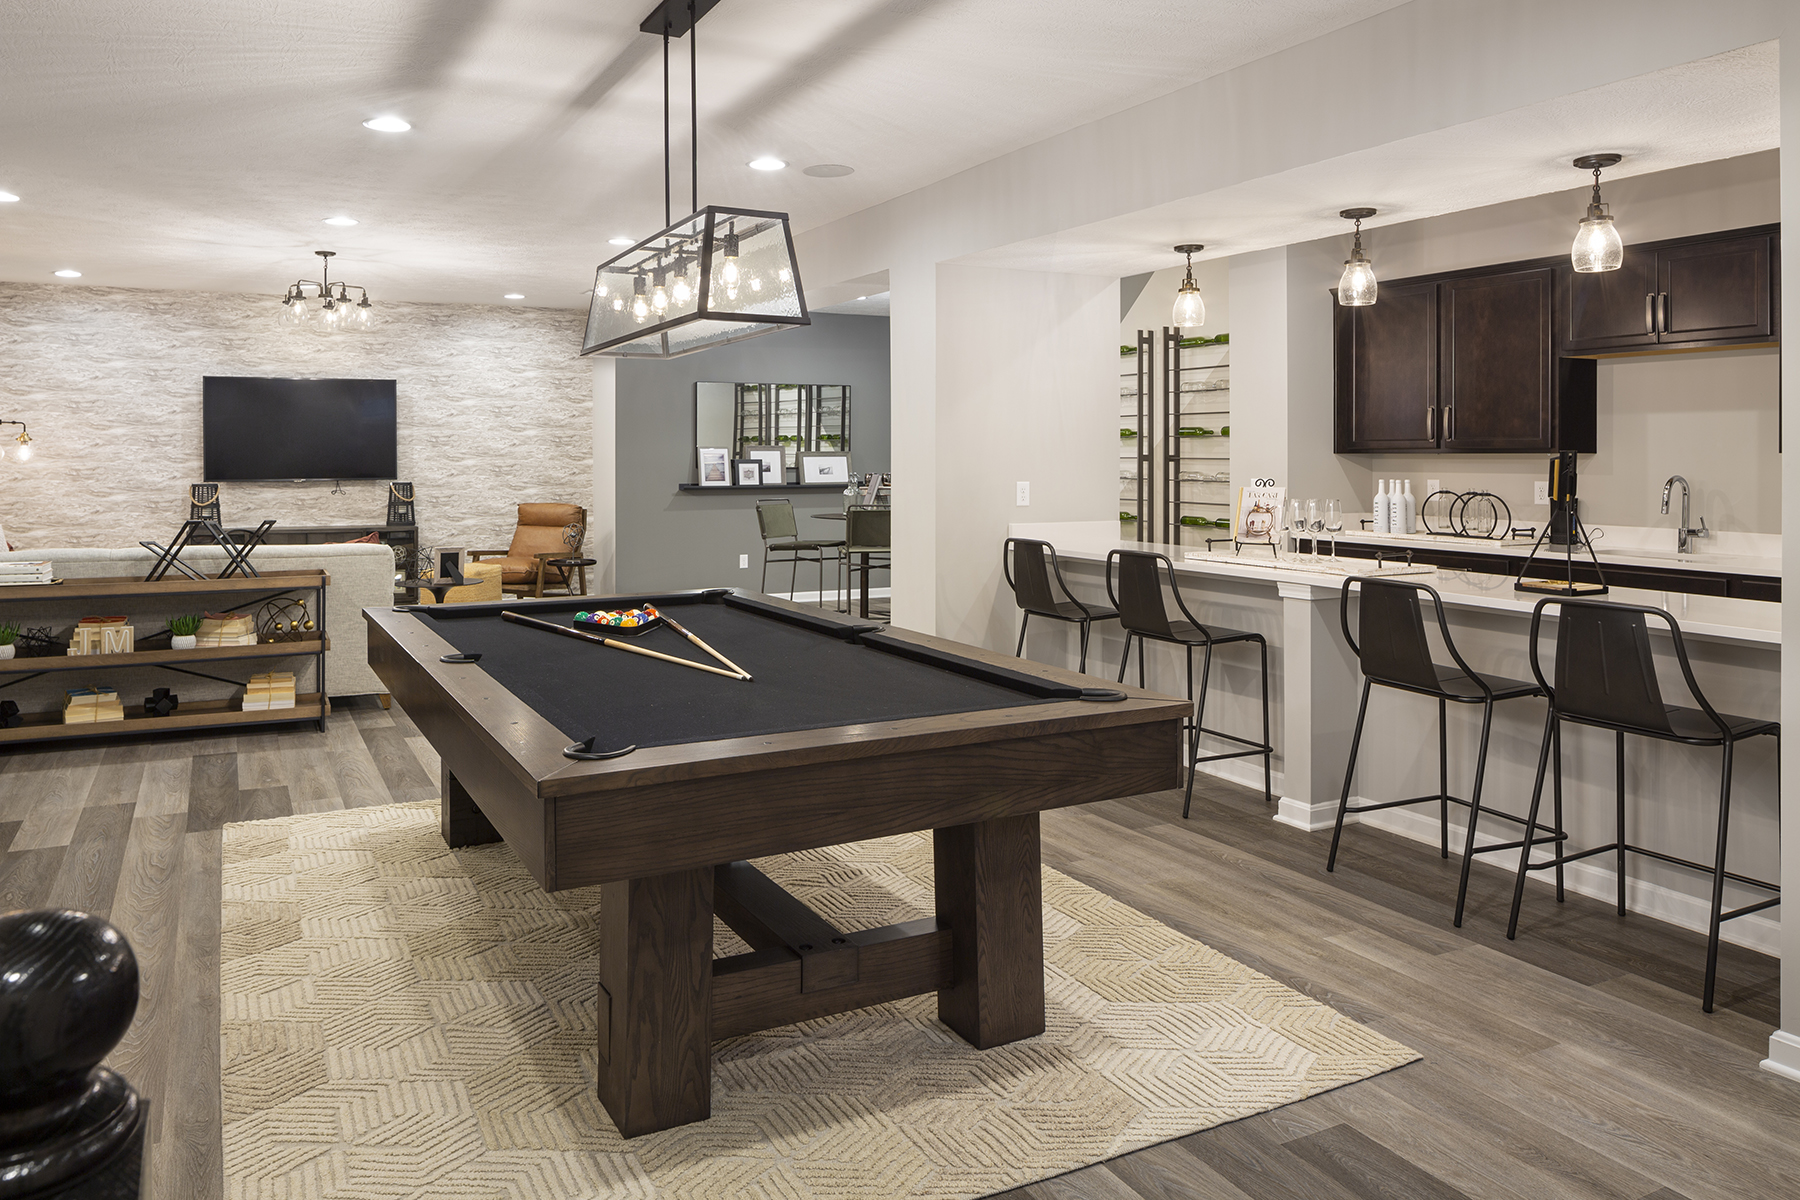
Finally: the fun part! Not only can you store those holiday decorations here, but now you have a home gym, bar, place to watch the game, or movie room with reclining couches and a large flat screen TV. Whatever plan you had for your basement has now come to life.
You can officially cross finishing your basement off your list of home improvements and move on to the next DIY project.
Hungry for another DIY idea for your home? Find your next home project.
What Is Private Mortgage Insurance (PMI) and How Does It Work?
10 Steps to Buying Your First Home
By browsing, you accept our terms of use and privacy policy.


