


What Is Private Mortgage Insurance (PMI) and How Does It Work?
Ah, the joys of not hosting the holidays. It’s great to not have to go to the nearest grocer the weekend prior and stock up on supplies for the big meal; to not have to deep clean the entire house just for the family to walk in moments later and return it to its prior state; to not wake up at 5:00 a.m. to prepare the holiday spread.
If you lucked out and are not hosting Christmas Eve this year, as a guest, you should still bring something to the table, and it’s a great year to try something new!
Over the years, it’s become sort of a pastime of mine to outdo myself with my side dishes or appetizers. So, lo and behold: here are my three easy side dishes that have wowed my hosts, complete with shopping lists and quick instructions!
Instructions: Chop all of your vegetables. When you’re chopping, keep in mind how comfortable a bite should be. Some people don’t like biting into a huge vegetable; they prefer a one-bite option.
For the bell peppers, remove the tops of the peppers and carve out the inside. I used two of the three peppers to hold the ranch, and one to hold carrot sticks or another vegetable. If you know your family is full of ranch lovers, maybe use all three for the dip!
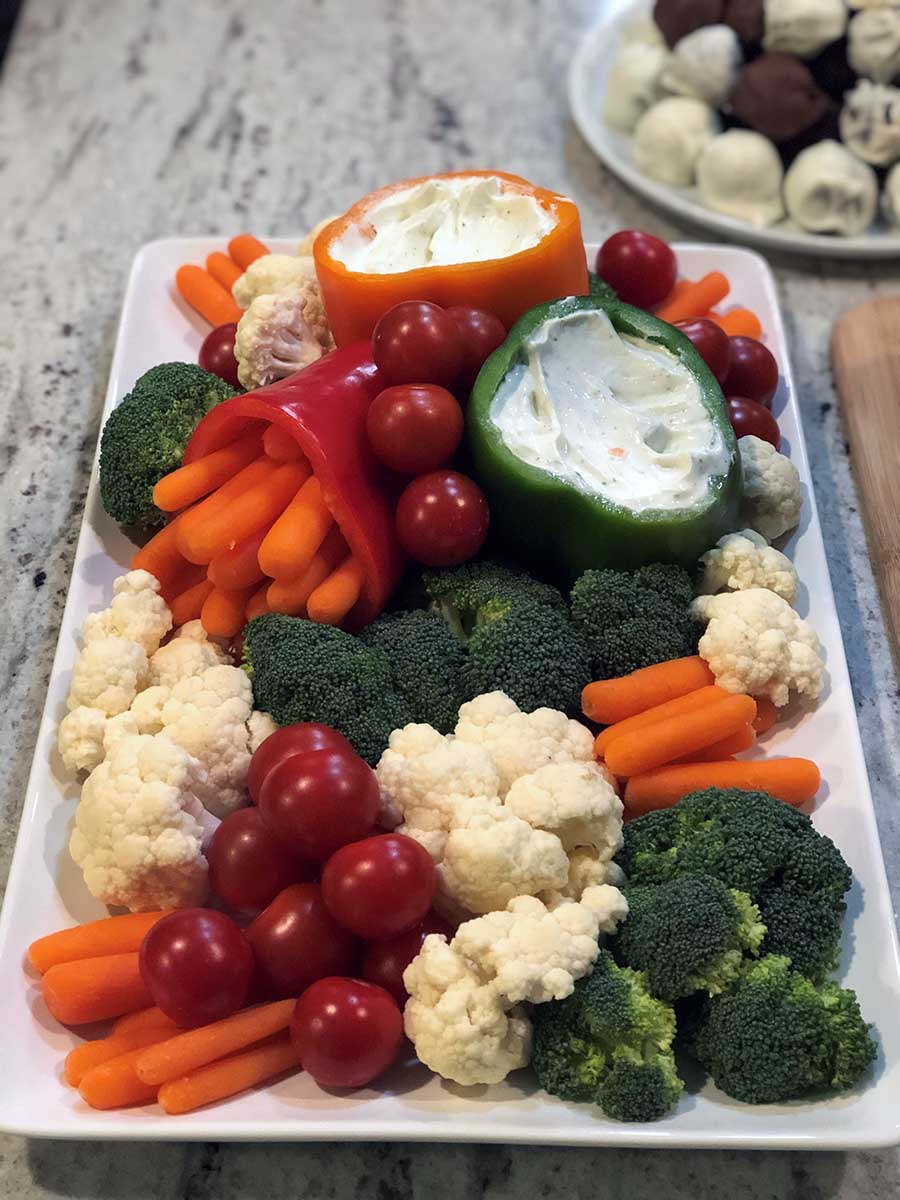
Pro Tip: To display the vegetables, don’t overthink it. Sporadic placement is the name of the game. Be sure to have the dish almost look like it is overflowing, and you’re done: my easy vegetable platter that continuously wows my host!
While my family is big on meat and a traditional charcuterie board, we don’t eat meat on Christmas Eve. But who ever said a charcuterie board has to be exclusively meats, cheese, and olives? From hot chocolate and dessert to breakfast and French fry charcuterie boards, there’s sure to be a delectable combo that your family will love! For my family, I did a mix of fruit, cheese, and sweets.
Instructions: Grab a large serving platter and a few smaller dishes. I like a white dish and clear bowls for a modern look, but hey! You do you. I use my glass Tupperware for the clear bowls, and nobody is the wiser. Place the bowls randomly on the platter. Again, sporadic placement is key!
Since I’m making homemade white chocolate covered pretzels, I do this before placing everything else. Grab a microwave-safe bowl, dump about half of your white chocolate chips in, and melt in the microwave for about 15 seconds at a time, stirring between warmings. Once the chocolate is melted, grab your pretzels and dip, then place on a parchment-paper lined dish and freeze for about 15 minutes. Simple as that!
Going back to the board, place the items that absolutely shouldn’t touch one another in the bowls. For me, those were the olives, the chocolate covered almonds, and the Goldfish.
Next, I like to utilize and place my cheeses and crackers. These mold around nicely, so play around until they look nice. There’s no right or wrong: charcuterie is art! After this, I toss in my fruit, and finally my homemade pretzels, and we’re done!
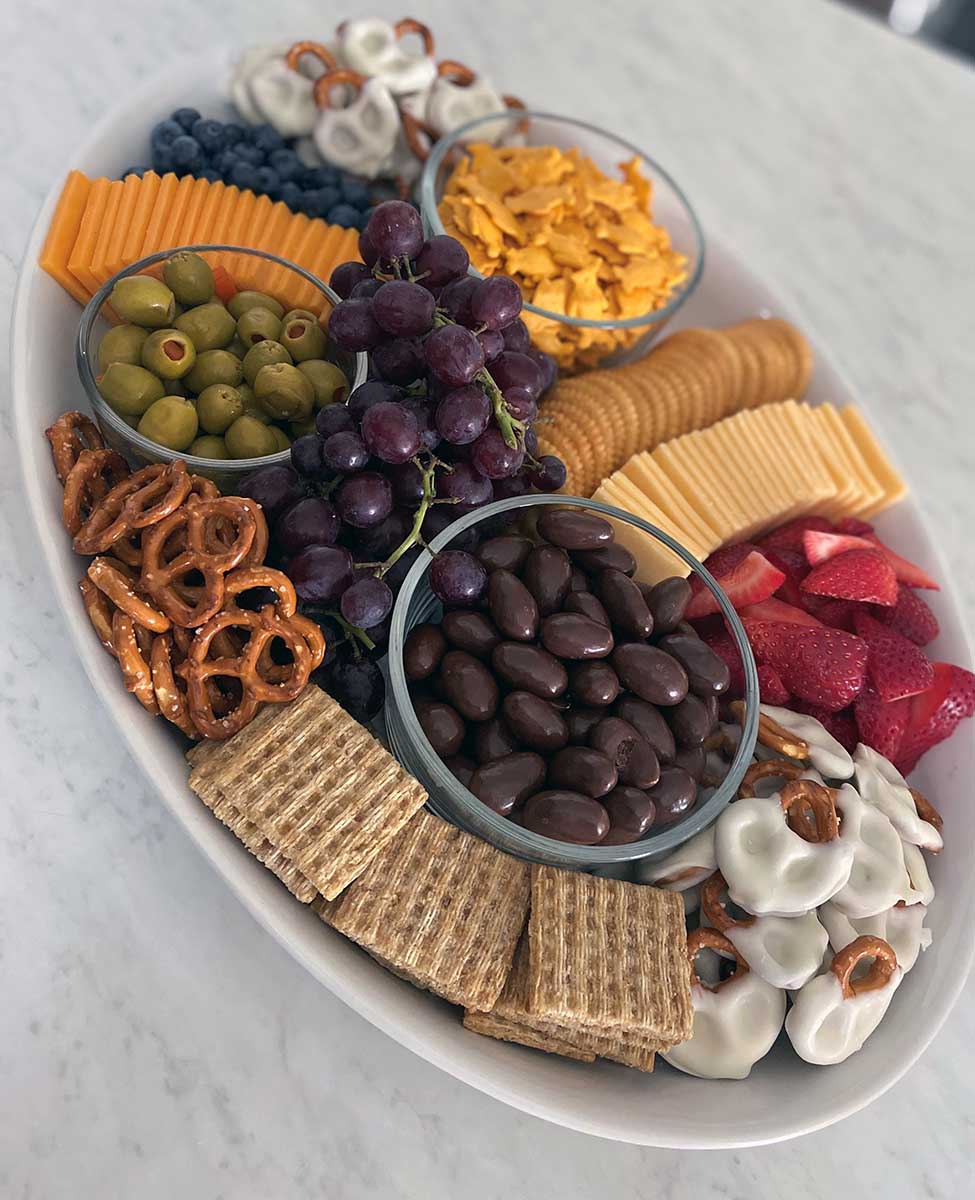
Pro Tip: I always like to suggest that with any sort of charcuterie board, think that it will be placed in the middle of a table. People don’t want to reach for a specific item, so try to make all items accessible from all angles. So, don’t place all cheeses on one side, all crackers on the other, so on and so forth. Having a little bit of something everywhere will allow for ease when people are grazing the board.
One of my family’s favorite appetizers that I’ve made to this day is full of major wow factor, but actually very easy to create: hello, Christmas Fruit Tree!
Instructions: Breathe! This one seems like a doozy, but it’s probably the easiest one of all. Take your foam cone and place it on some sort of platter or small cutting board. You’ll thank me later when you need to move your fruit masterpiece.
Cut or peel your fruit (where applicable) into bite-size pieces. From here, after some major trial-and-error, I’ve learned that the easiest way to attach the fruit to the foam tree is to insert the toothpick into the foam first, then attach the fruit. You’ll want to push the toothpick so far in that there is only enough toothpick exposed to hold the fruit; we don’t want any toothpick exposed once the fruit is attached.
At times I do an entire row of toothpicks, then attach the fruit, and at others I do one toothpick and immediately attach the fruit. It’s totally up to you!
Once you unveil your tree, people will be hesitant to mess up the beauty, but once the first person does, the grazing is so easy, and the tree will be bare in no time!
Optional: Top with a star! I had star-shaped pretzels and attached one to the top of my tree.
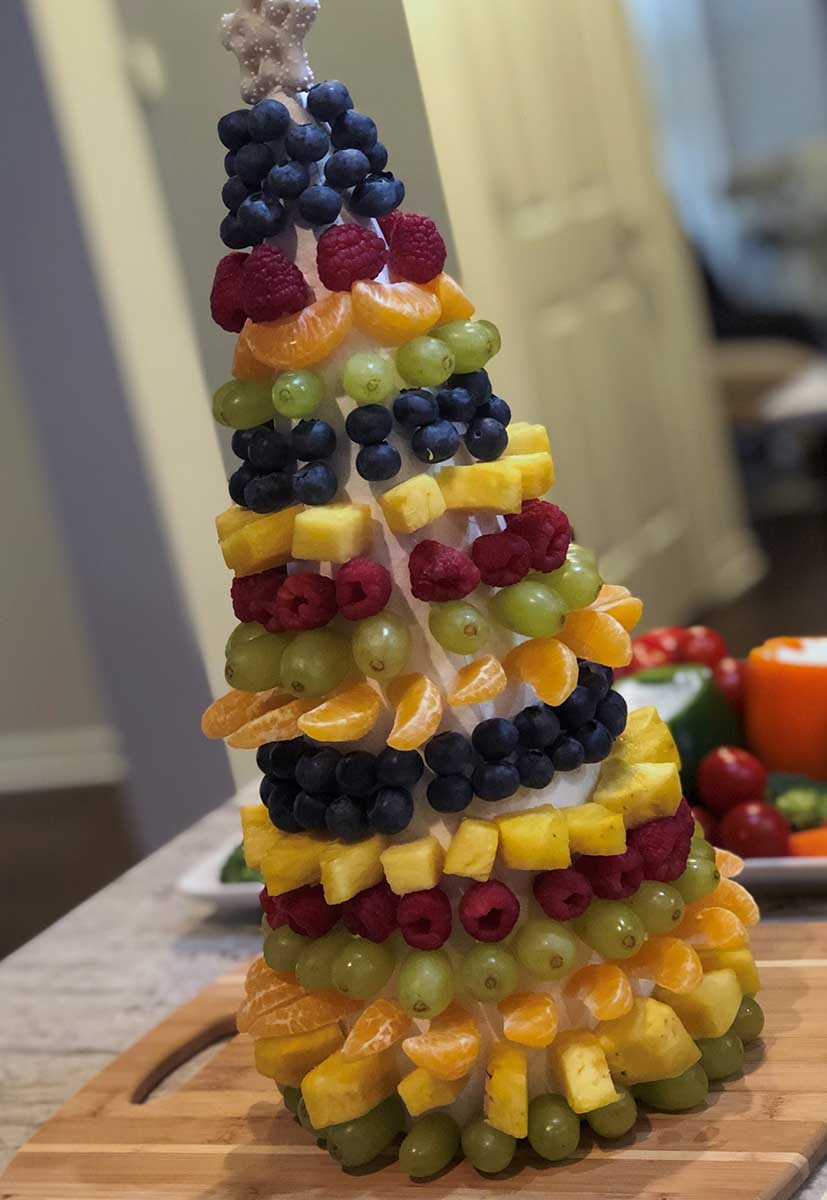
Pro Tip: Wrap with plastic wrap for day-of storage and transportation, and hold it on your lap during transportation. Being 15 inches tall, this tree is not one for sharp turns when you’re running late to your in-laws’ house!
Whether you’re having a small get-together with immediate family or staying home with only your household this year, these three side dishes will truly wow whoever you put them out for (and definitely get you a good amount of social media praise)! Tag us in your photo if you decide to try one for yourself this year!
What Is Private Mortgage Insurance (PMI) and How Does It Work?
10 Steps to Buying Your First Home
By browsing, you accept our terms of use and privacy policy.


