


What Is Private Mortgage Insurance (PMI) and How Does It Work?
We all love that satisfying feeling of seeing a good before and after power washing photo, right? If you answered yes, then stick around until the end of this blog where we’ll give you a step-by-step power washer guide. We’ll give you tips on power washing your driveway, your patio furniture, your windows, and much more!
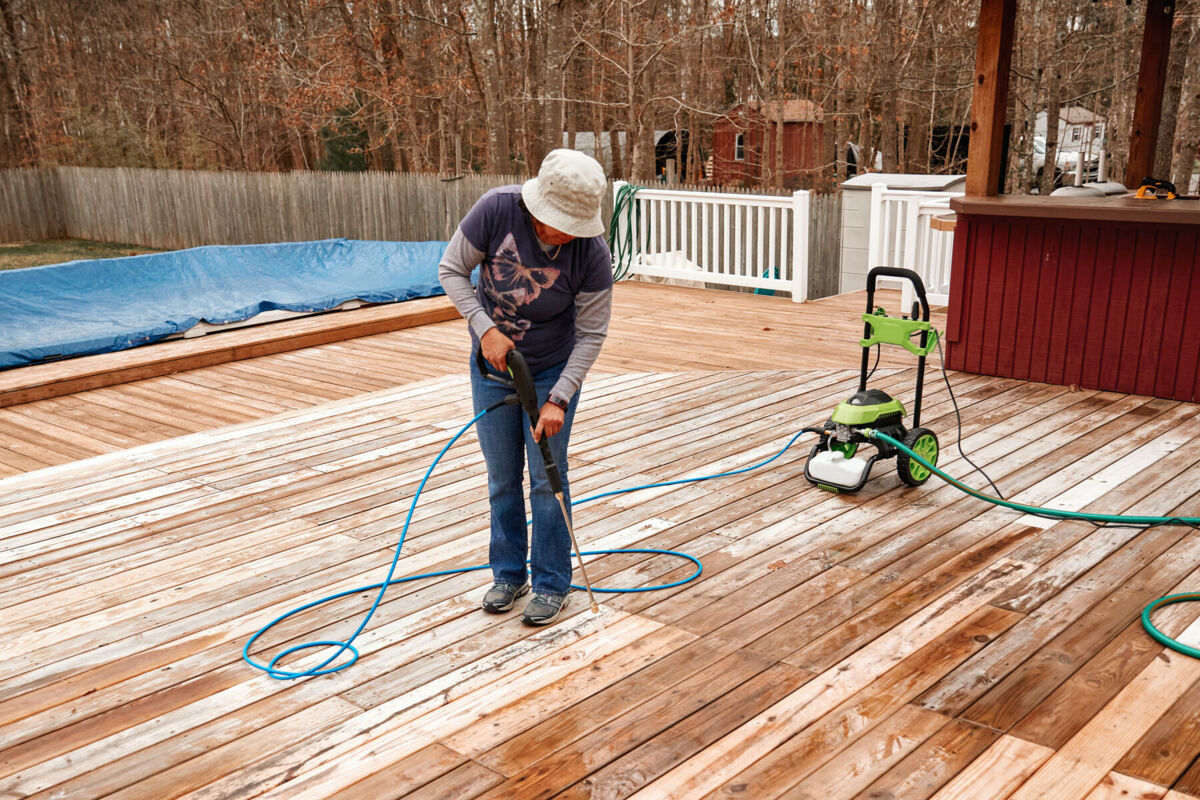
You first order of business will be to identify which area you’re wanting to power wash. There are a ton of different areas of the common household that can be power washed, such as exterior brick, driveways, decks/fencing, windows, and even patio furniture and cushions!
If you’re anything like San Antonio's Vice President of Sales, Jaclyn Calhoun, you’ll end up power washing everything in sight. When asked what her favorite part of power washing is, Jaclyn had this to say:
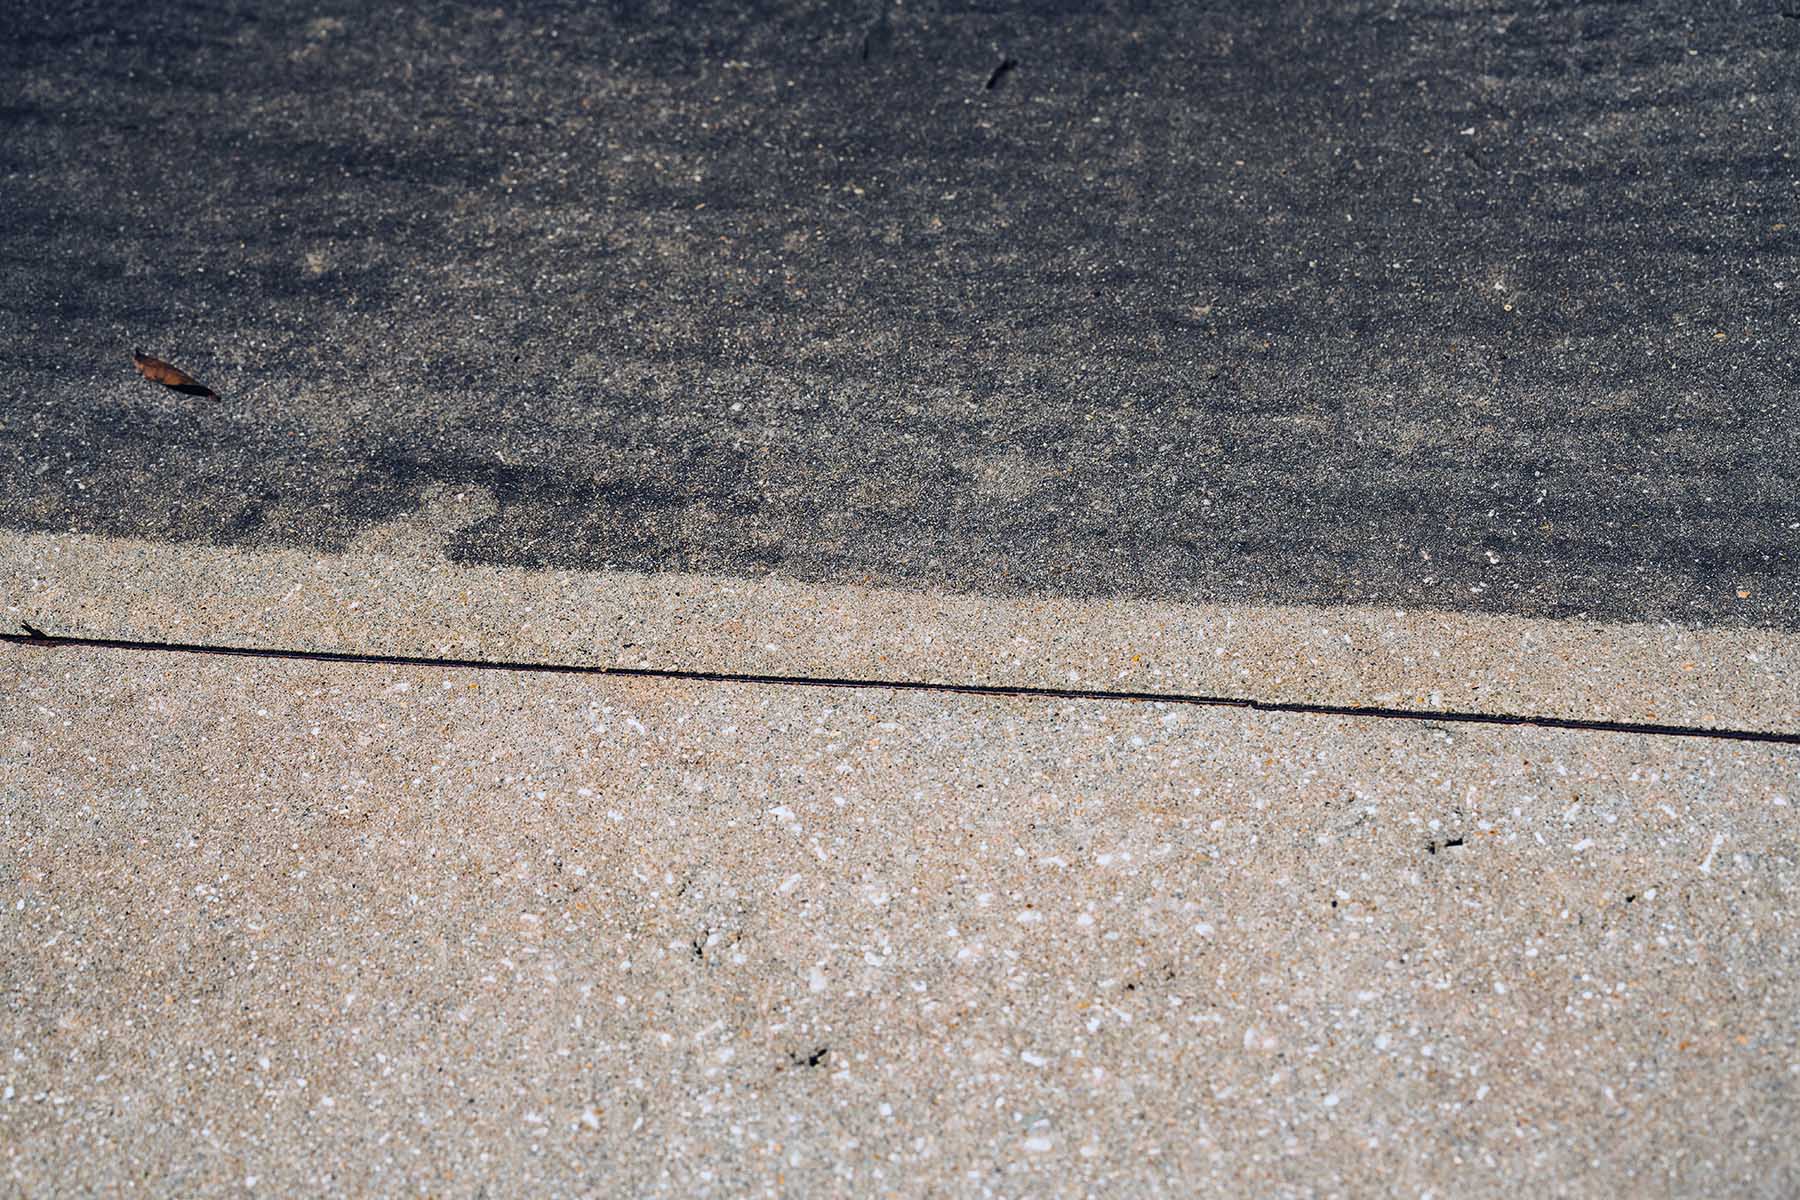
“I love to power wash! It is a home project that I look forward to doing about every 3 to 6 months. My very first project was the driveway of my home. There were some oil stains from our cars and other general dirt and grime. I broke out the power washer and was surprised to see such a noticeable difference! Once I saw that satisfying before and after, I was hooked.
“Next, I tackled all the windows on my home and the brick on the front of my home.
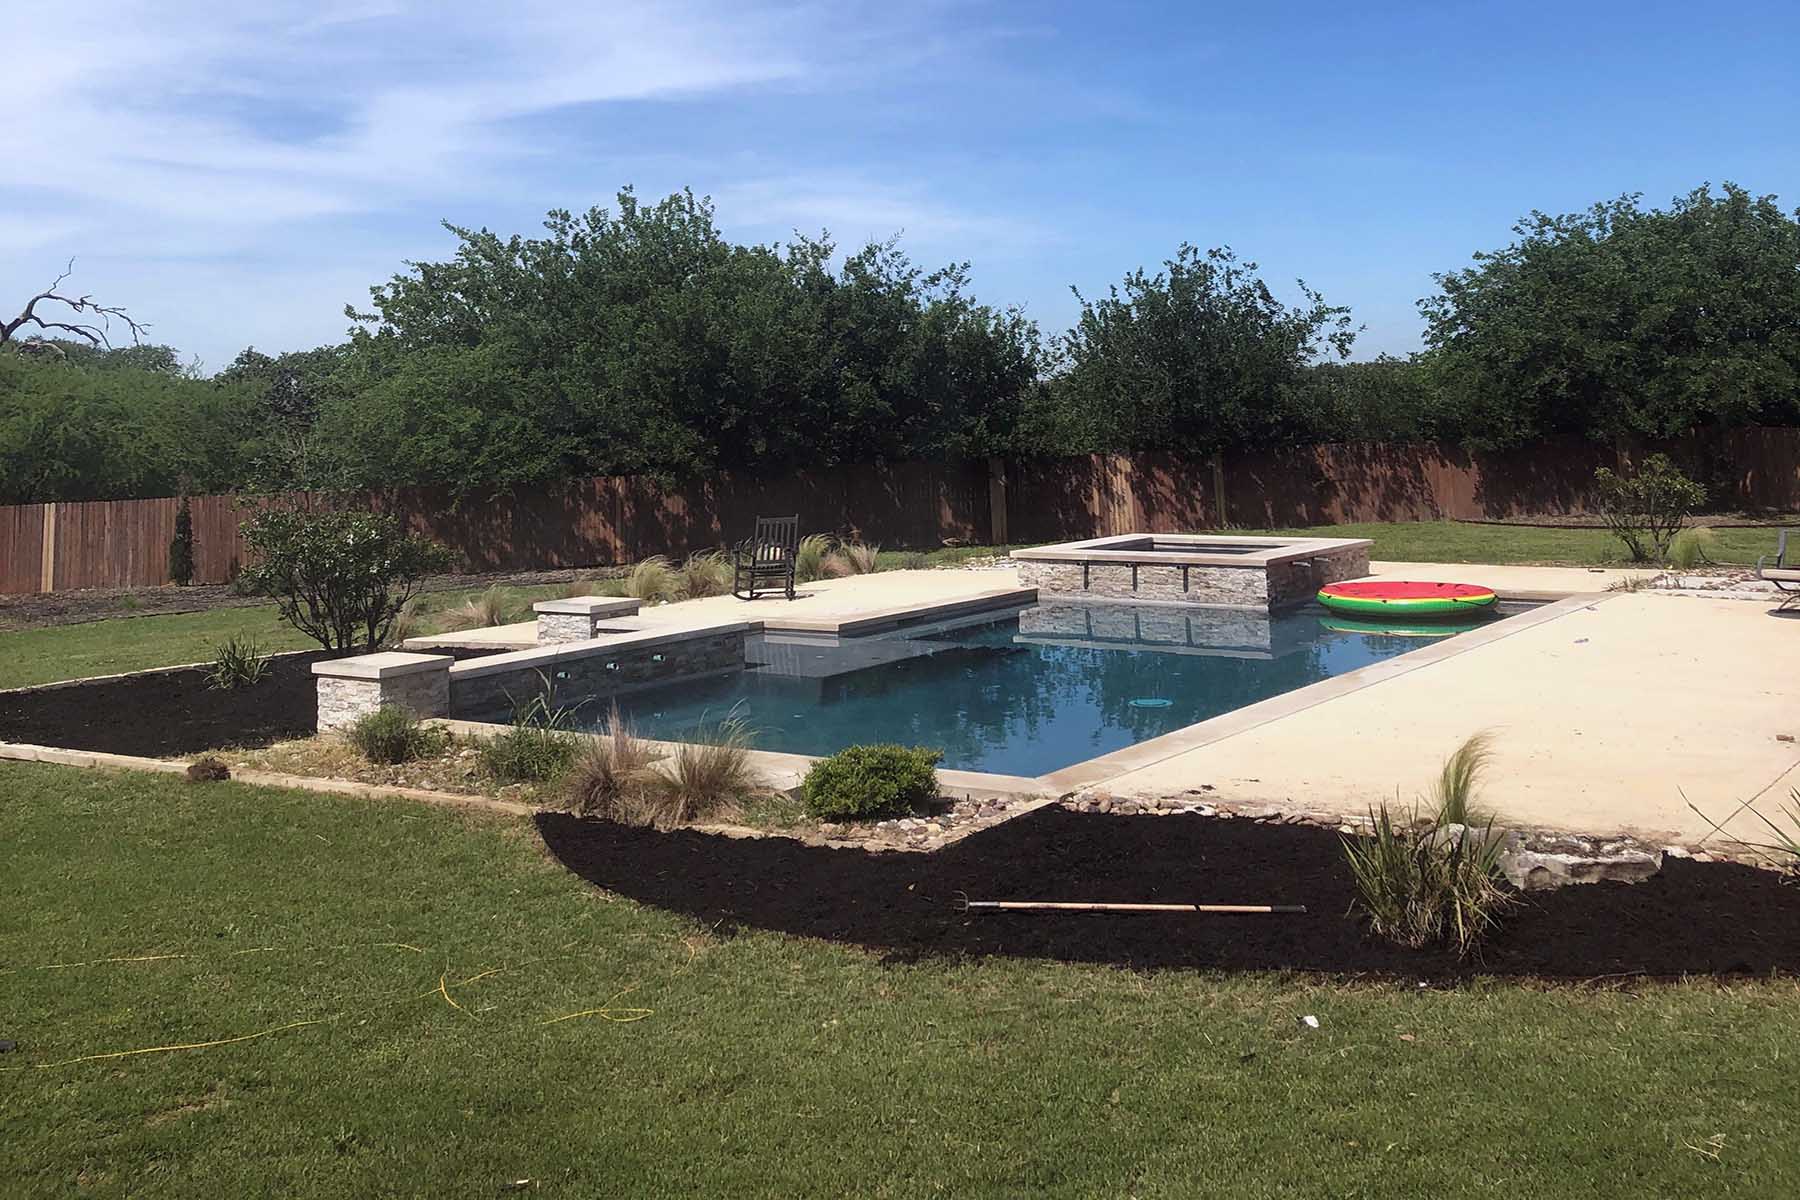
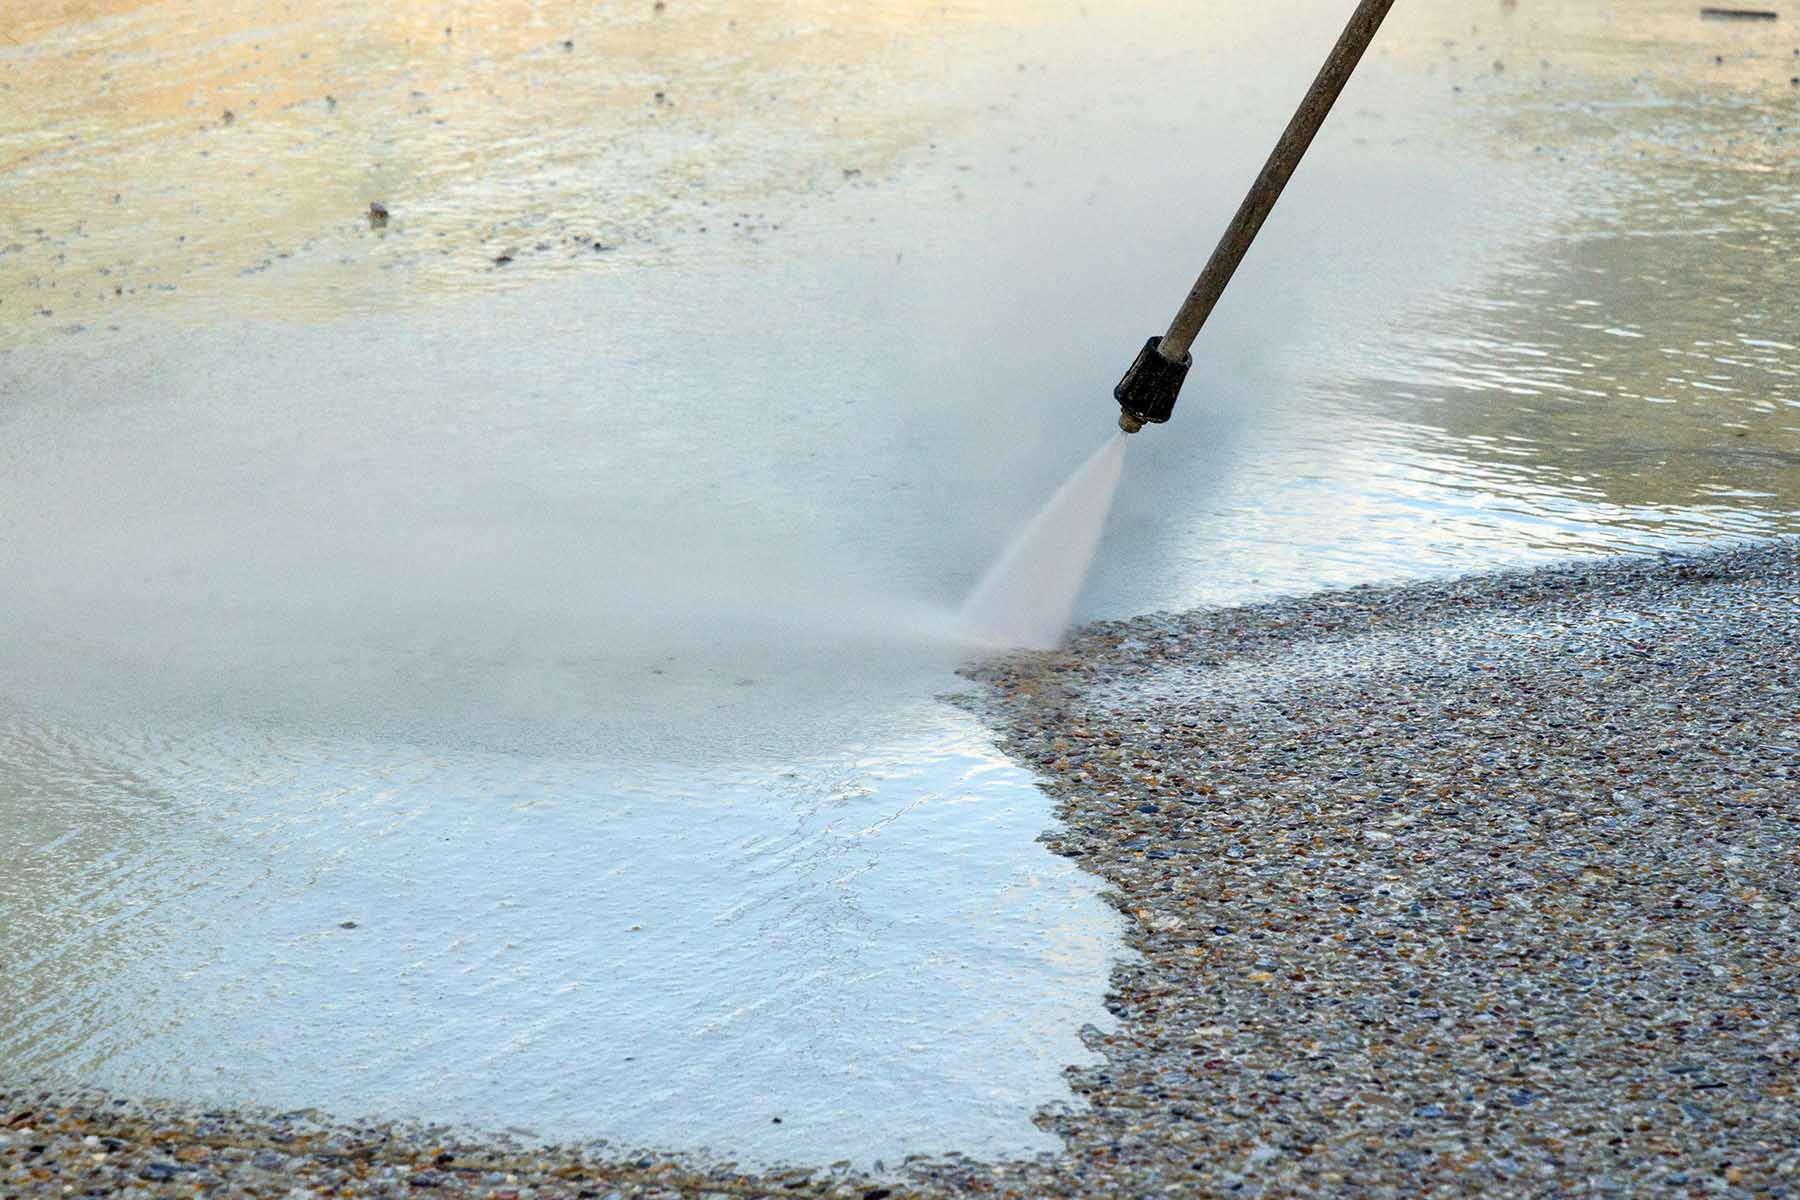
“My most recent power washing project has been the stone and cement around my pool. With these hot Texas days and my kids jumping in and out of the pool for hours on end, it can get pretty dirty, pretty fast. It’s a quick and easy clean up with my power washer!”
One of the biggest power washer tips we can give is to find out which power washer is the best fit for you and your projects.
There are electric washers, gas washers, high-pressure washers, low-pressure washers… you get the point. Our friends over at Best Pick Reports have a detailed list of all the different types of washers and what they are best used for. Check out their guide on power washers.
Once you pick the perfect washer for you, you’ll want to determine which nozzle is best suited for your project. Nozzles are typically color coded in Red, Green, Yellow, Black, and White. To find out more about what each of the different colored nozzles does best, check out this easy-to-follow chart by Generac Power Products.
Okay, so you’ve identified the area of your home that needs some TLC and you’ve picked the perfect washer and nozzle for the job, now what?
First, you’ll want to test out the washer in an inconspicuous spot. This will allow you to find the perfect pressure for the job and allow you to get comfortable with handling the power washer. Once you’re comfortable using the washer and with the results from your test spot, you’re off to the races!
We asked our local construction team for their best tips and tricks for power washing:
The possibilities are endless now that you have the basics. So, where will you start? We hope that no matter what area you choose to power wash, you’ll be satisfied with the results.
We would love to see your before and after photos! Share your power washing projects with us by tagging M/I Homes on Facebook, Twitter, and Instagram.
Already onto the next home improvement project? Get even more home maintenance tips!
What Is Private Mortgage Insurance (PMI) and How Does It Work?
10 Steps to Buying Your First Home
By browsing, you accept our terms of use and privacy policy.


